
SSIS for Azure Data Factory
The following chapter explains how to set up and use the SSIS package in Azure Data Factory. Regarding the input table, the same structure applies as already explained in the chapter Preparing the Input Table.
Installation and Configuration
Info
In Azure Data Factory, only SSIS packages with MS SQL version 2017 can be installed, so be sure to use the 2017 version of the process.science SSIS package.
Installing dependencies
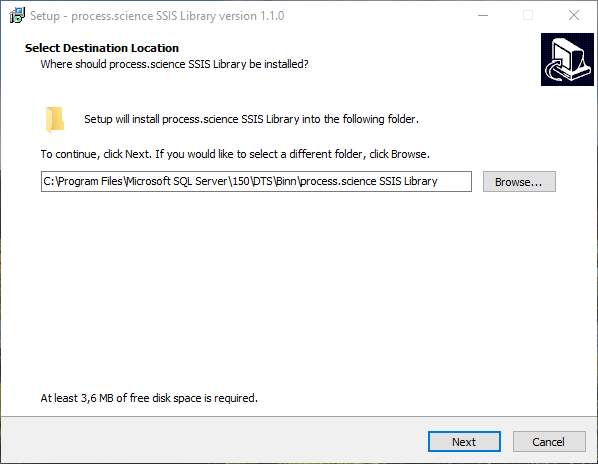
Before you can install and use the process.science SSIS package, you must install the necessary dependencies in the Integration Runtime. You can obtain the necessary library files (.dll) and an installation script by installing the installation programme process.scienceSSISLibraryInstaller.exe locally on your computer. Install the file in a location of your choice:
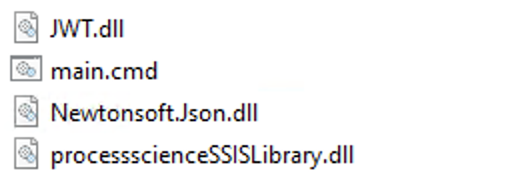
You will need the following files from the folder for the next steps:
Creating a storage account in Azure
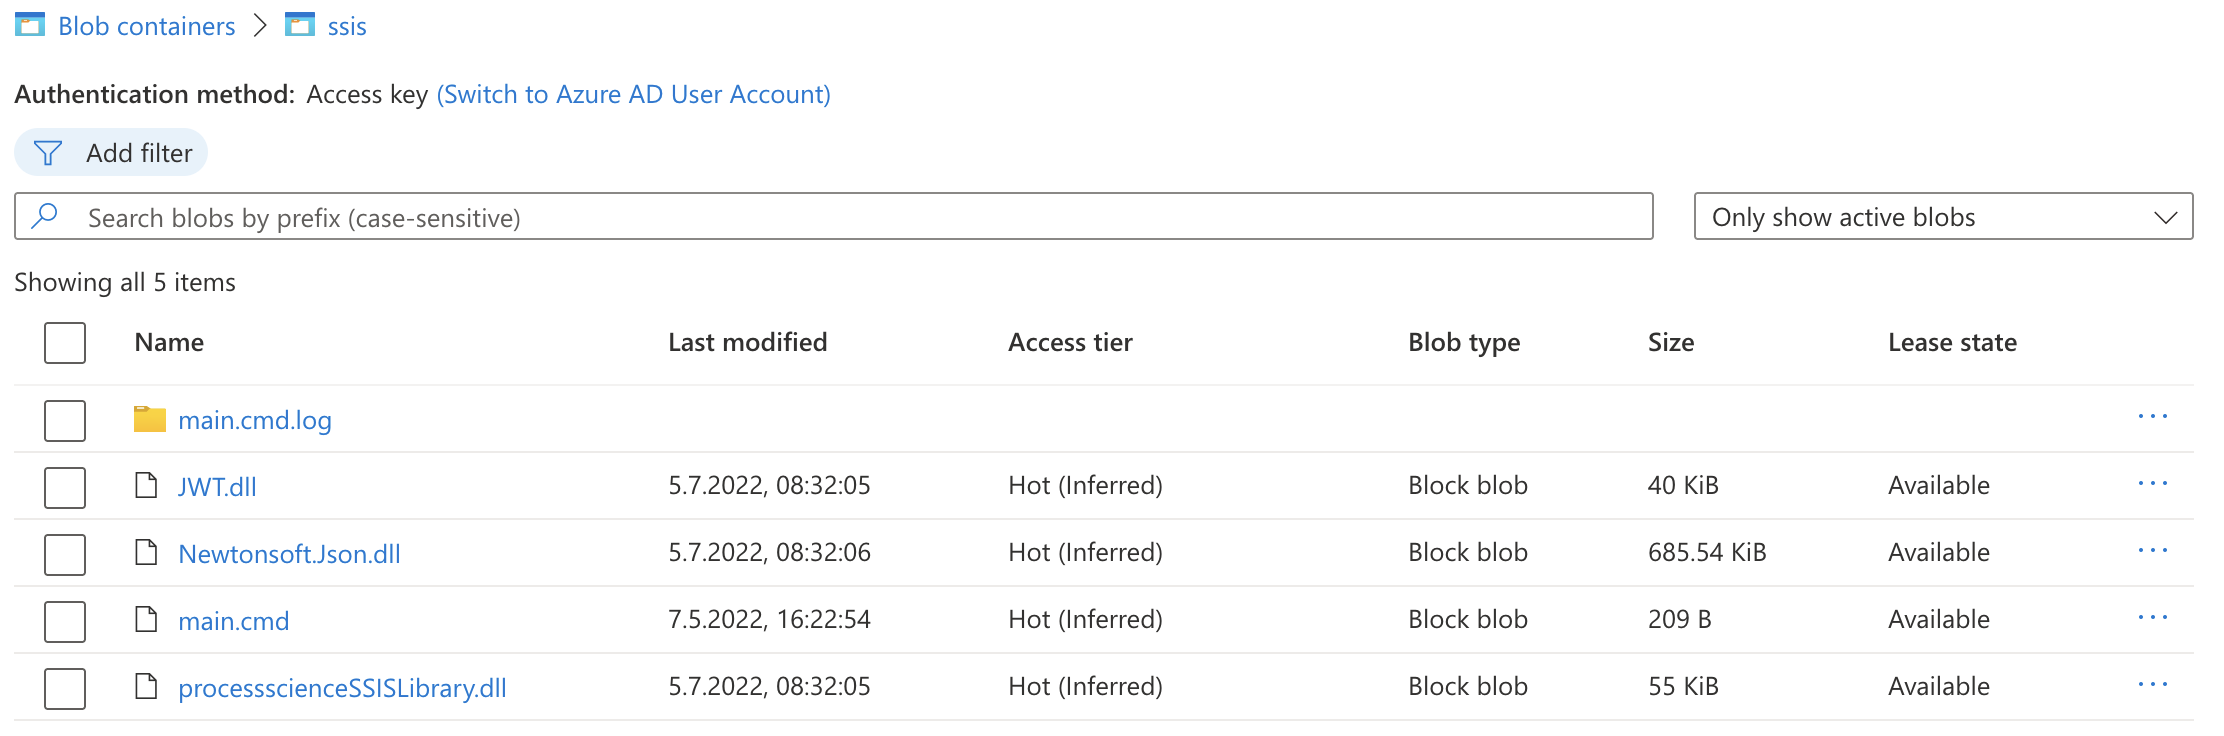
The library files are loaded from a blob storage in Azure within the Integration Runtime, for this you need to place the above files in a storage account of your choice. The .log folder is automatically created after the first start of the Integration Runtime.
Retrieving a SAS URI
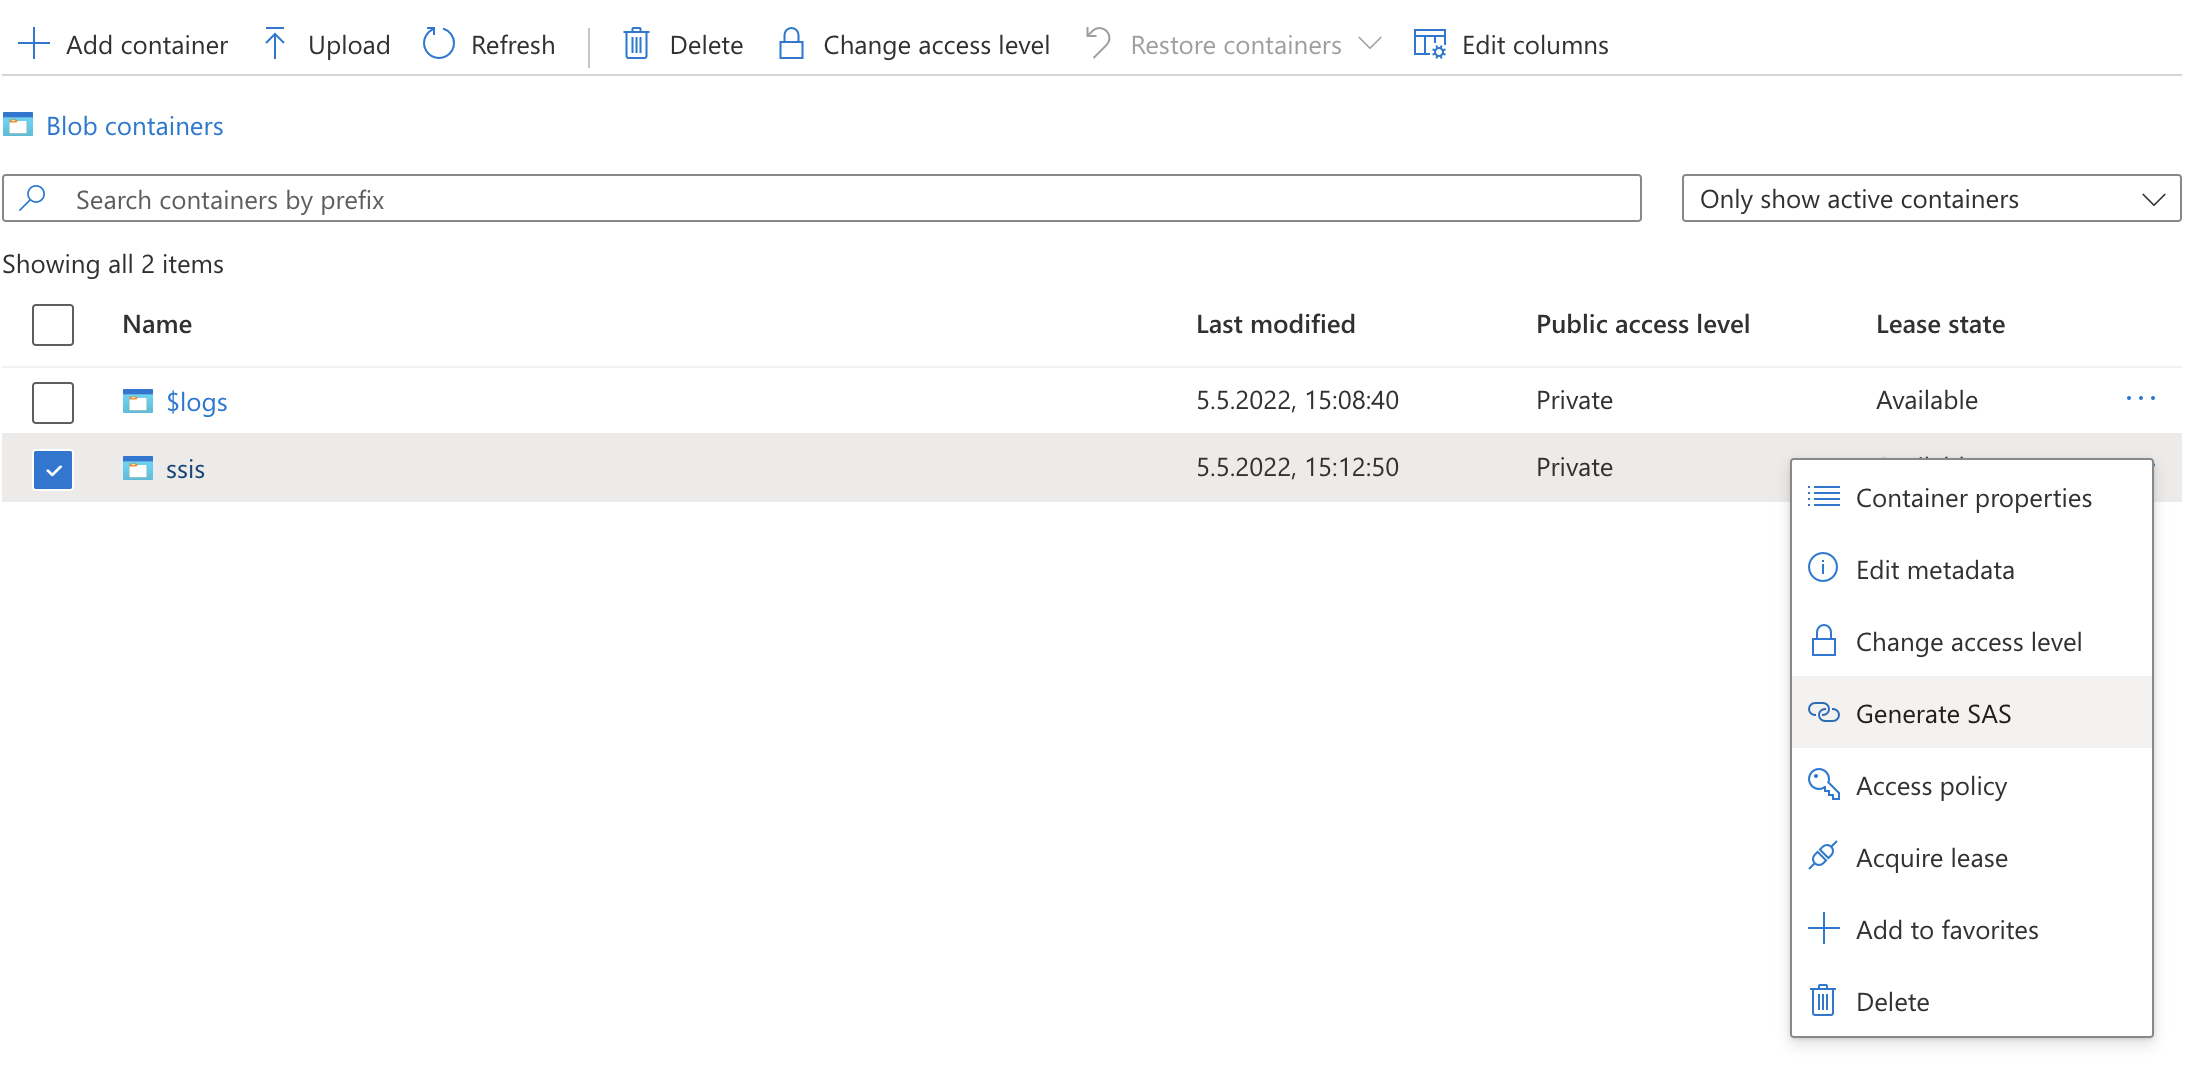
A SAS URI must now be created for the storage container used above, which will be used in the following step:
Configuring the Integration Runtime
Next, we configure the Integration Runtime to copy the DLLs to a predefined directory when it is started. The directory is set in the main.cmd file to %ProgramFiles%\Microsoft SQL Server.
- create a new Integration Runtime or stop and edit an existing one.
- on the third page a custom setup container can be specified, there the SAS URI from the previous chapter has to be entered.
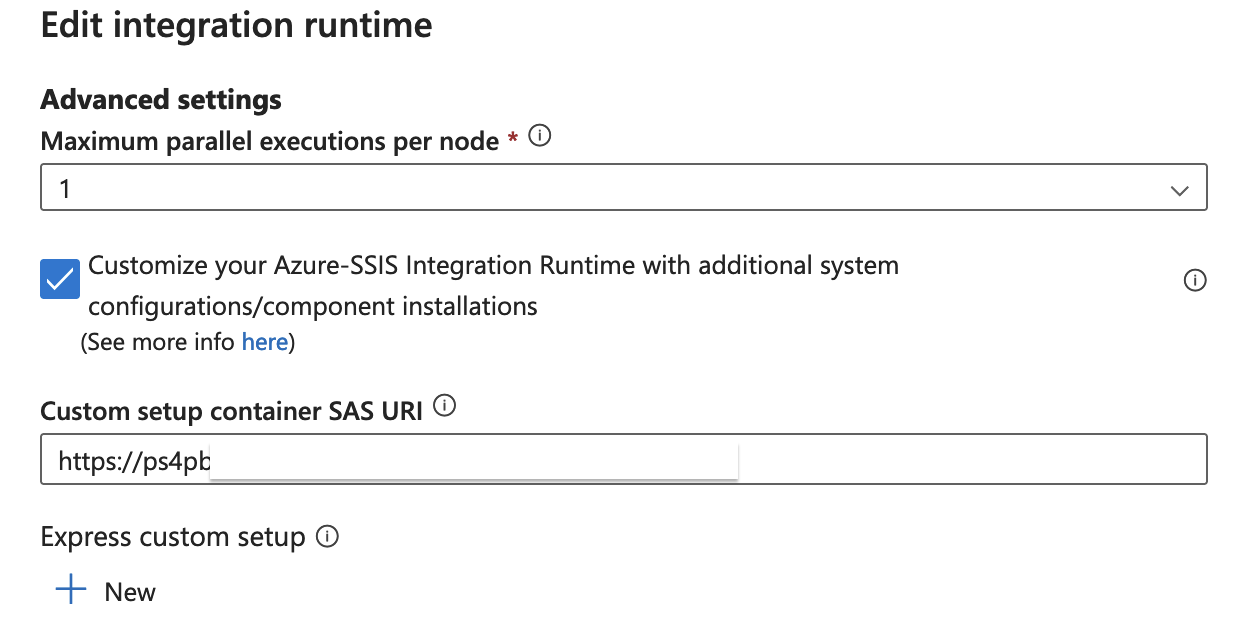
- Finish the setup with the desired parameters and start the Integration Runtime if necessary.
Installing the package
Next, a new SSIS step is created in a pipeline in which the SSIS package is executed. To do this, proceed as follows: Run an SSIS package with the Execute SSIS Package activity in Azure portal.
Define the parameters by clicking on the SSIS Parameters tab.
Configuring the parameters
ConnectionString: The connection string. This parameter is mandatory. ConnectionTimeout: The connection timeout in seconds, set to 0 to have no limit. This parameter is mandatory.EventLogName: The name of the event log table. This parameter is mandatory.LibraryInstallationPath: The path where you installed the library if nothing was changed in the main.cmd file is the path C:\Program Files\Microsoft SQL Server. This parameter is mandatory.LicenseFilePath: The license key, enter the contents of the .pslicense file. This parameter is mandatory.LogPath: The path the the location where the log file should be created, is a .log file. This parameter is mandatory.SchemaNameIn: The name of the input schema in which the event log table is stored. This parameter is mandatory.SchemaNameOut: The name of the output schema in which the output files should be stored. This parameter is mandatory.TablePrefix: The prefix of all output tables. This parameter is optional. UseGroupedMode: The flag if you are working with activity groups. This parameter is mandatory.
Connect using connection string
The connection string looks like this: Data Source=localhost;Initial Catalog=processscience;User Id=XY;Password=XY Read more on connection strings on this site: https://www.connectionstrings.com/sqlconnection/.
Importing the data
Importing the data into the Power BI file works equivalent to the normal SSIS package, for this read the chapter Importing the data