
Multi Field Slicer
Setup
Import the visual via the menu into the existing report, the name of the visual is psMultiFieldSlicer.pbiviz.
Working with the template files
Within the process.science template files all visuals have no license key. Before you can start working with the template files you need to add the provided license key as explained in the chapter Loading the license key into the report.
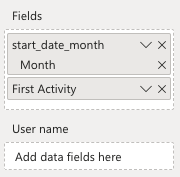
Afterwards you cann add all kinds of dimensions to the Fields bucket. You can create filters for all the columns you added.
Important
To be able to work in edit mode, you must drag the measure UserName from the table Cases into the field User Name of the visual.
The visual has the following icon in the menu:

Functionalities
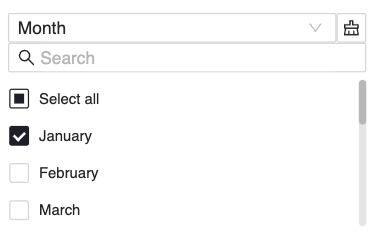
The Multi Field Slicer by process.science is used to create filters for multiple fields that do not necessarily have to come from the same table within one visual. This saves space on the dashboard pages, as a separate slicer does not have to be used for each filter value.
Drilldown/-up
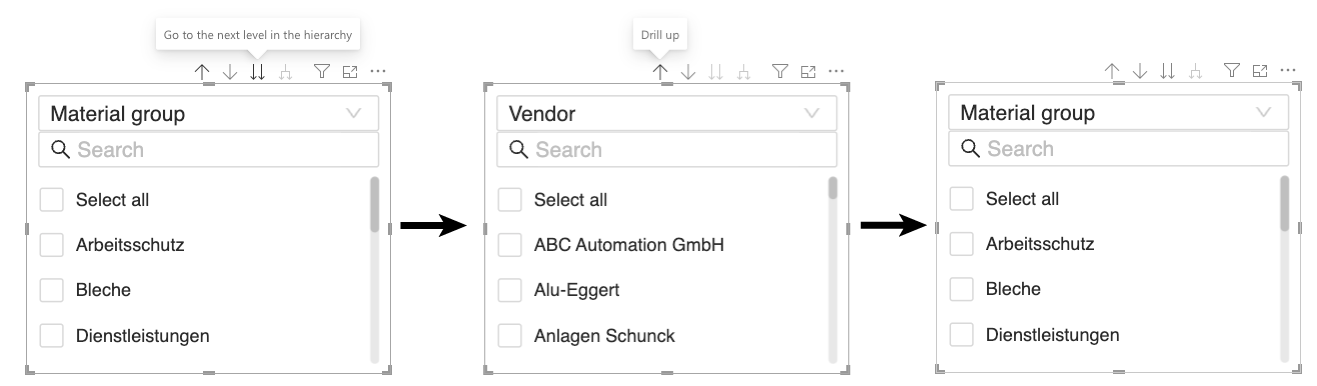
By using the buttons Go to the next level in the hierarchy and Drill up, the values of the next or previous attribute can be displayed in the visual.
To access the next attribute press  and to access the previous attribute press
  .
.
Expand
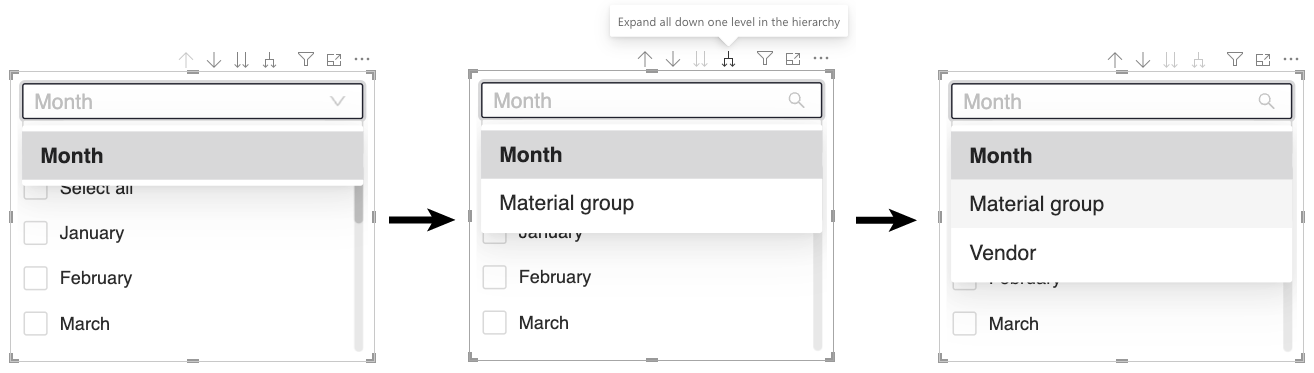
By pressing the button Expand all down one level in the hierarchy several values can be added to the dropdown at the same time. This is saved in the visual and filter values can be subsequently set for all set attributes by selecting the attributes in the dropdown.
In the first screen only Month is displayed, by clicking on  in the second step additionally
 Material Group is displayed and after a second click on additionally Vendor.
Information
If fields in the data buckets have been adjusted or moved, you may have to click on to show all fields again. The button  does not work in the visualisation because the values cannot be selected individually.
Filtering
By selecting values in the result list, filters are directly created for them. Switching to another attribute does not delete existing filters.
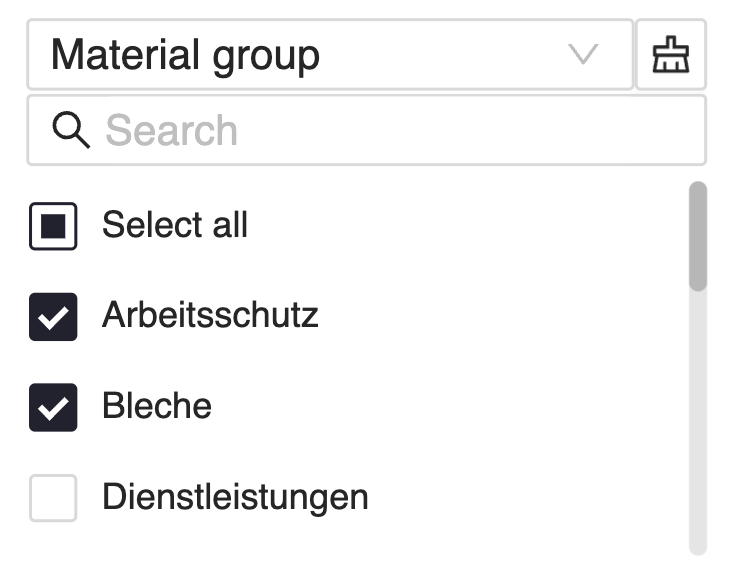
Select all values for current search result
If values are searched for in the search bar and then the button Select all is clicked, only values found in the current search are taken into account.
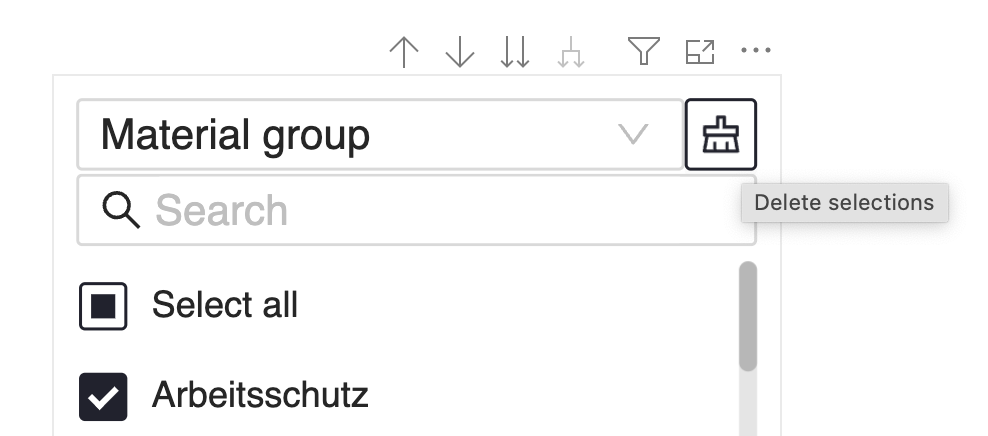
Clear selection
Once a value has been selected for an attribute, the reset button is displayed next to the selection dropdown. This deletes all selected values, even those of attributes that are not currently displayed.
Settings
In the following chapters the possible settings are explained.
Selection menu
Settions for the selection menu.
| Setting | Description |
|---|---|
Size | The size of the selection dropdown and the reset button. |
Color (Reset) | The hover border color of the reset button. |
Color (Selection field) | The hover border color of the selection dropdown menu. |
Search bar
Settions for the search bar.
| Setting | Description |
|---|---|
Size | The size of the search bar. |
Color (Search bar) | The hover border color of the search bar. |
Selection list
Settings for the selection list items.
| Setting | Description |
|---|---|
Spacing | The spacing (top and bottom) between list values. |
Font size | The text size of the list labels. |
Font color | The text color of the list labels. |
Grid lines | Switch if the grid lines should be shown. |
Color (List) | The hover color of the list values and the fill color of the checkboxes. |
Color (Checkmark) | The color of the checkmarks. |